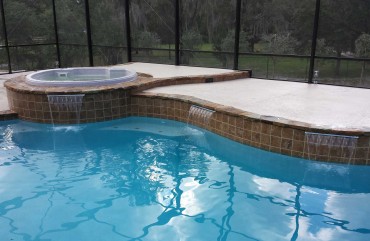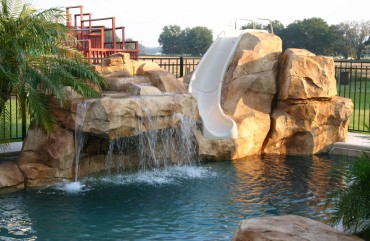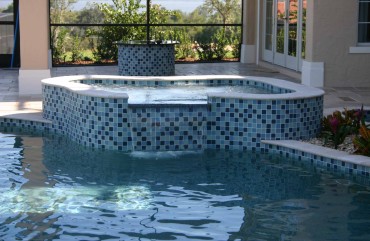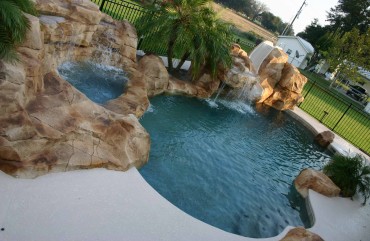
WE KNOW THAT EVERY SINGLE CUSTOMER IS UNIQUE. BUILDING UNIQUE POOLS IS OUR COMPANY MOTTO AND SO EVERY PROJECT WE UNDERTAKE IS DELIVERED TO A CLIENT’S SIGNATURE SET OF PERSONAL TASTES AND, WHERE NECESSARY, SOLVES ANY CHALLENGES THEIR PROPERTY MAY PRESENT.
BUILDING A SWIMMING POOL IS A LARGE AND COMPLEX PROJECT. BUT, FROM OUR FIRST MEETING THROUGH YOUR FIRST SPLASH, OUR GOAL IS TO MAKE IT ALL AN ENJOYABLE EXPERIENCE FOR YOU. THE PROCESS IS A PERSONAL ONE FOR YOU AND FOR US AND WE TAKE THE TIME TO EXPLAIN ALL OF YOUR OPTIONS AND ANSWER ANY QUESTIONS THAT YOU MIGHT HAVE.
CUSTOMER SATISFACTION IS A NUMBER ONE PRIORITY AT WISEMAN POOLS. TOGETHER, WE WILL DO WHAT IT TAKES TO MAKE SURE YOU ARE COMPLETELY HAPPY WITH YOUR NEW SWIMMING POOL.
WISEMAN POOLS IS FAMILY-OWNED AND OPERATED. OUR COMPANY PRINCIPAL HAS 17+ YEARS OF EXPERIENCE IN THE SWIMMING POOL INDUSTRY AND A SOLID FOUNDATION OF 10+ YEARS IN THE CONSTRUCTION INDUSTRY.
SHAWN WISEMAN LEARNED MUCH OF HIS CRAFT WORKING WITH ONE OF THE LARGEST SWIMMING POOL BUILDERS IN CENTRAL FLORIDA WHERE HE SAW AN OPPORTUNITY TO BUILD A COMPANY BASED ON SUPERIOR CUSTOMER SERVICE, OUTSTANDING SUPPORT AND A TIGHT FOCUS ON CUSTOMERS’ NEEDS.
HE GRADUATED FROM KEISER COLLEGE WITH AN AS DEGREE IN AQUATIC ENGINEERING, A NEW PROGRAM DEVELOPED BY HORNER, A LEADING SWIMMING POOL INDUSTRY SUPPLIER. IT WAS THE FIRST ACCREDITED DEGREE DEVELOPED SPECIFICALLY FOR THE SWIMMING POOL INDUSTRY AND WISEMAN POOLS IS PROUD TO HAVE THE FIRST GRADUATE OF THEIR PROGRAM.
Wiseman Pools is a longtime member of the Florida Swimming Pool Association Florida Swimming Pool Association. Shawn has served as Treasurer for the Central Florida local chapter for many years and also serves on the Executive Committee of the State board and has performed various roles within that committee.
He currently serves as the President of the Board of Trustees for the Florida Swims Foundation Florida Swims Foundation – Florida Swimming Pool Association , a 501(c)(3) non-profit organization and the charitable foundation arm of the FSPA.
TODAY, WISEMAN POOLS IS A LICENSED RESIDENTIAL & COMMERCIAL SWIMMING POOL BUILDER WITH AN EXTENSIVE PORTFOLIO OF PROJECTS. FROM THE SMALL FOUNTAINS AND IN-GROUND SPAS TO THE LARGE MILLION DOLLAR INSTALLATIONS WITH MULTIPLE POOLS AND SPAS. OUR CUSTOMERS, LARGE AND SMALL, DEMAND A QUALITY SWIMMING POOL FOR A FAIR PRICE. AND WE DELIVER.
BUILDING UNIQUE POOLS, PERFECTLY SUITED TO YOU AND YOUR HOME
FUN FACTS ABOUT WISEMAN POOLS
SEE WHAT WE’VE DONE FOR HAPPY WISEMAN POOL CLIENTS
ENCLOSURES • EQUIPMENT & CONSTRUCTION • FIRE & LIGHT FEATURES • POOLS • SURROUNDINGS • WATER FEATURES
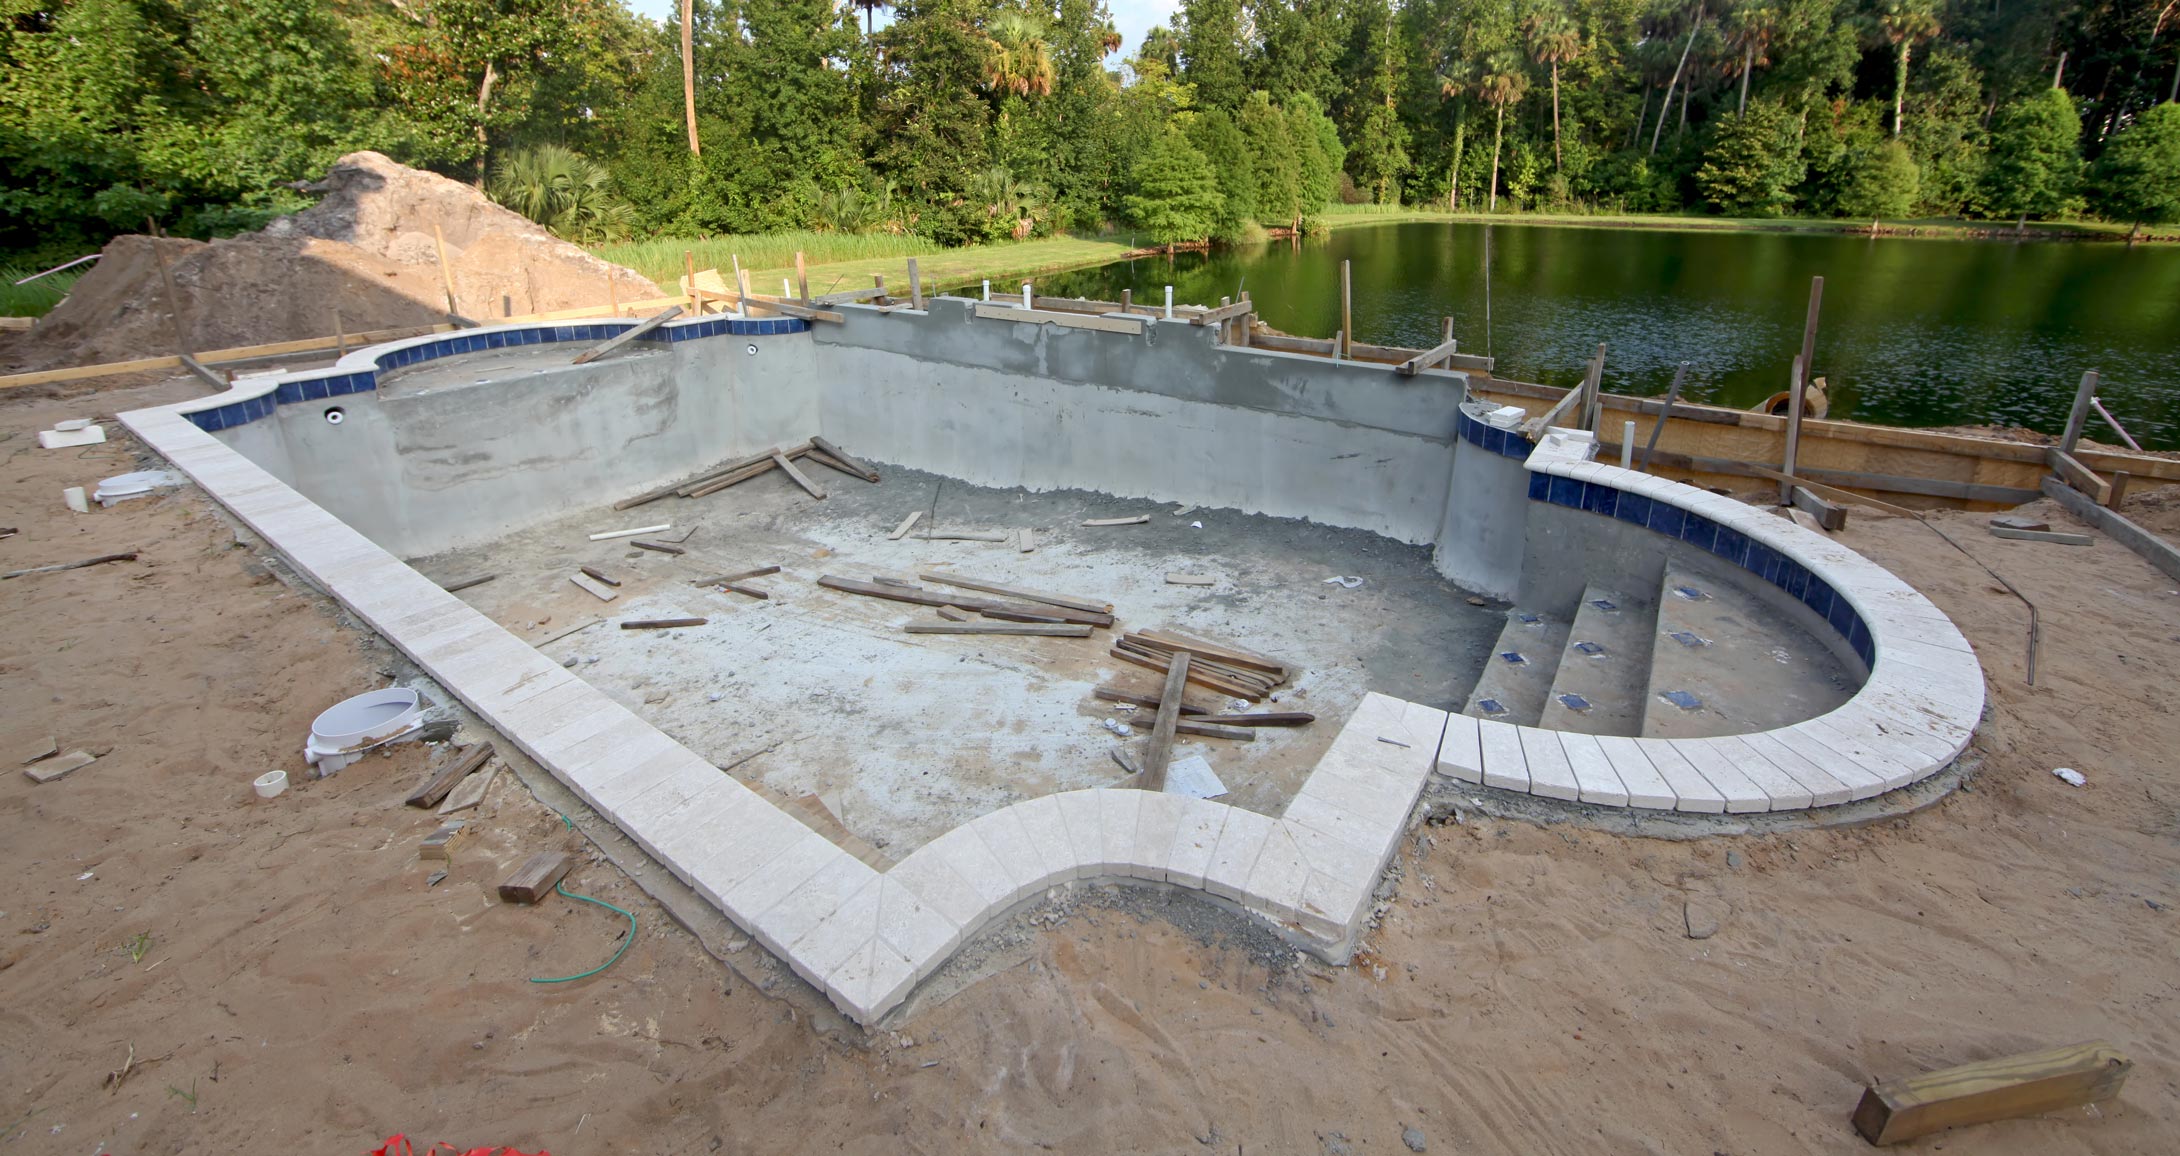
Every pool is unique and varies in options and equipment. However, many of the construction phases are essentially the same. Here’s what you can expect when we build your pool…
1. Pre-site
Our construction supervisor will come to your home prior to construction startup and go over your pool’s location, orientation and access to your backyard. He will also confirm utilities clearance, if there is landscaping that needs to be removed, where your pool equipment (filter and pumps, etc.) will be located, and answer any questions you might have about the process.
2. Layout, Dig & Steel
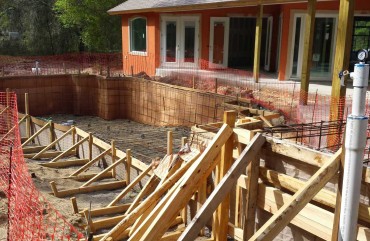
Once we have obtained the appropriate permits and posted them with our sign on your property, we will lay out the shape of your pool with wood forms. An excavator will then come remove the all of the dirt inside the forms. Typically, the hole will be dug slightly larger than the actual forms. Main drains and any other plumbing in the floor will now be installed and pressured up to make sure there are no leaks. Finally, steel reinforcing bars will be installed inside of the hole to form the floor and walls of your swimming pool. (If you decided to add a spa to your swimming pool, all of the above steps will be replicated for it.) Once these items have all been completed, there will be an inspection by the municipality that issued the permit.
3. Concrete Shell
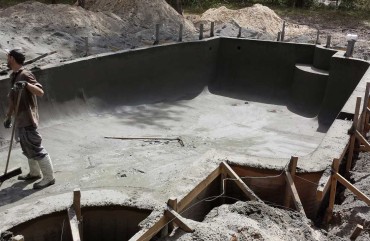
Once the steel inspection has been passed, the concrete shell will be installed using either gunite or shotcrete. Steps and benches will be hand-formed, holes will be left in the walls for the returns and a larger hole left in the deep-end floor of the pool to equalize any ground water pressure that might exist. The concrete is installed pneumatically through a pump system and shot into place. This is a neat process to watch, but don’t get too close! The concrete shell will typically take 24 to 48 hours to setup. It is critical that you do not try to enter the pool shell. Once the shell has set up, the wood forms will be removed, the shell will be backfilled with dirt and the immediate area of the pool deck will be graded.
4. Plumbing
During this time, your pool’s plumbing will be installed around the perimeter of the shell. A large trench will be dug from the pool area to the location where the pool equipment will be installed. The pump, filter, chlorinator & heater (if included) will then be installed and plumbed in. The entire plumbing system will again be pressured up to make sure there are no leaks. At this point, some municipalities may require an inspection of the in-ground plumbing.
5. Tile
Once the plumbing inspection has passed, if required, the tile will now be installed. The top of the pool shell will be waterproofed and leveled, the tile installed and grouted. Smaller tiles will be installed on the tops of steps and benches for visual reference. Spillways and other water features per your pool design will be installed at this point as well.
6. Electrical
After plumbing has been installed, an electrician will mount a panel on your house wall next to the pool equipment and wire everything into it, including your time clock and pool’s circuit breakers. The electrician will also install the underwater pool and spa lights, any required GFCI outlets and whatever light switches you will need. Depending on scheduling or inspection requirements, the electrician may come out during a later phase of construction . Sometimes you will need to be home so the electrician can access the electrical panel inside of your home.
7. Deck
You will have a choice of either a concrete deck with a knockdown texture or a paver deck. For concrete, the deck area will be formed around the outside perimeter with wood forms and the inside edge of the pool will be formed with Styrofoam forms. Grounding wires will already have been installed around the perimeter and a termite treatment spray applied. Once these are complete, there will be an inspection required by the municipality that issued the permit. Once the inspection passes, the concrete deck will be poured, the knockdown texture applied to the deck and a first primer coat of paint laid down. A final sealer coat of color will be applied at the end of the construction to leave you with a clean freshly-painted deck.
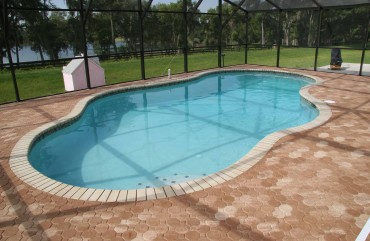
For paver decks, the initial steps leading up to the inspection are similar except there will be no Styrofoam forms on the pool shell. After the inspection has passed, a concrete ribbon footer will be poured around the outside perimeter of the deck area, not the entire pool deck area. The pool edge coping will be mudded down to the top of the pool shell and pavers installed in the pool deck area on a compacted substrate of lime rock or a crushed concrete mixture. The outside perimeter pavers will also be mudded down on top of the ribbon footer locking everything together. The very last step in the paver deck installation involves spreading very fine sand over the top of the pavers and working it into all of the small gaps in between to lock everything in tight.
8. Screen Enclosure or Fence
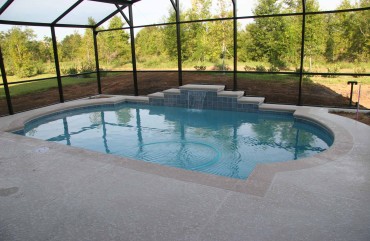
Now is when your screen enclosure or yard fencing will need to be installed. The screen enclosure or fence is not typically included in your swimming pool contract. Because another permit is required for the fence or screen enclosure, it is normally contracted separately. We can obtain an estimate from one of the reputable screen companies we normally work with, or contract with a company of your choice. The fence/screen prohibits people from getting into your pool from the outside. You will also need a barrier installed between your pool and any openings in your home’s doors & windows. This is usually accomplished with the installation of an approved child fence or door & window alarms. If you have decided to add a gas heater to your pool or spa, that is also an item to be contracted separately. Now is a good time to have your gas company install the tank and run the required lines to the heater. It can sometimes take a couple of weeks for the gas company to get the required permits and schedule the work, so make sure you plan for this ahead of time.
9. Plaster
This is the last major phase of construction. The plaster crew will clean out the pool shell and make sure all of the plumbing coming through the shell is sealed and watertight. The plaster material is mixed up and then hand trowel-applied to the concrete shell. This is the finish that you will see underwater. Once the interior finish has been applied to the entire surface, the plaster crew will wash the surface down with an acid solution. You do not want to be around for this step. When the acid wash is finished, has been neutralized and pumped out, it’s time to start filling the pool with water. This is a very critical time because the finish needs to stay hydrated as it sets up. After the plaster crew has left, it is helpful to soak down the exposed plaster with water every so often. Do not turn off the water until the level reaches the tile line or it could leave a line or “ring” on the plaster finish. If you chose a pebble type finish, it is common for the plaster crew to come back the day after the plaster has been applied to complete the acid wash and start filling the pool with water. Don’t try to go swimming just yet. The pool is still not quite ready for you to get in.
10. Fire-up & Orientation
Now, our construction supervisor will get everything running. He will start the pump and clear out all of the plumbing lines, clean the filter, adjust the valves and make sure everything is running the way it should be. Wall returns, therapy jets and any in-floor cleaning heads will be installed at this time, as well as any required safety fittings. All of the pipes that are exposed above ground will be painted and labeled so you know what they are for and to protect them from the sun. If you had a heater added to your pool, we will test-fire the heater to make sure it heats properly. Once all of this has been completed, we will add chemicals to the pool and get everything balanced properly. If yours is a saltwater system, the salt cell unit will be installed but salt will not be added to your pool for at least two weeks to make sure its finish has cured appropriately.
The construction supervisor will also schedule a time with you to go over all your new equipment and teach you how to take care of the pool and maintain it properly. It is crucial during the first 30 days after your pool has filled with water to brush your pool every day with the brush given to you by the construction supervisor. This removes the top “cream” layer of the interior finish and exposes more of its colored crystals. If you do not brush the pool well during this time your finish may look splotchy and uneven.
Now it’s time! Suit up, grab some sunscreen and jump in to years of warm Florida sunshine and cool days in your beautiful Wiseman pool. Enjoy and don’t hesitate to give us a call with any comments or questions. We’d like to thank you for choosing Wiseman Pools.


We proudly use all Jandy pool products, including pumps, filters, cleaners, heaters, automated control systems, and lights. Jandy is the world leader in pool and spa equipment and accessories. They manufacture innovative, energy-efficient products that make pool and spa ownership easier, more enjoyable, and less expensive.
WE’D REALLY LOVE TO HEAR FROM YOU — DROP US AN EMAIL AND WE’LL GET BACK TO YOU AS SOON AS WE CAN.
1517 W. Main St., Leesburg, FL 34748 • (352) 431-3766

